Meshes, Skeletons, and Rigs
This is an overview of Meshes, Skeletons, and Rigs, with definitions and explanations of their use.
Mesh
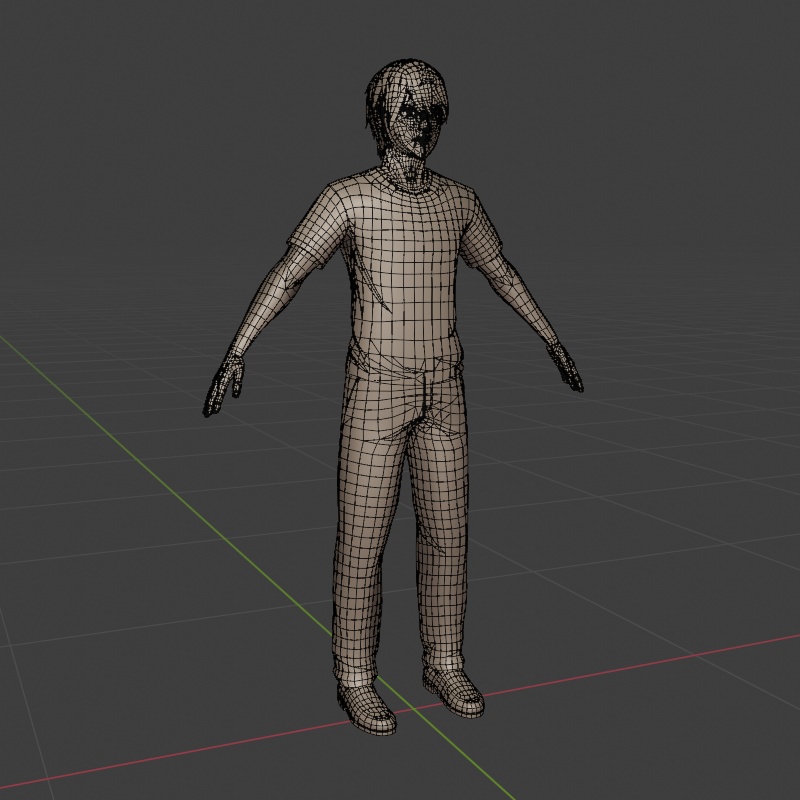
The Mesh is the polygons making up our character.
The Mesh has Materials applied to it, and is the visuals of our character we see on-screen.
Skeleton
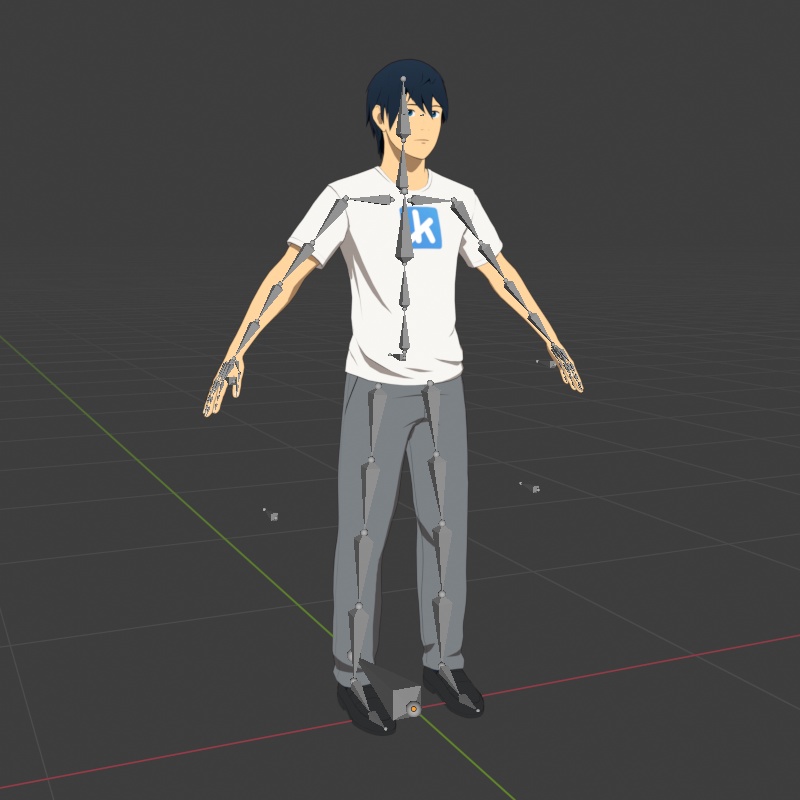
The Skeleton is the bones that are exported with our mesh for a game engine.
It includes all deform bones, which are bones that move the Mesh.
Most bones in a Skeleton are deform bones, but not all. For example, Base-Kun has a “root” bone at the origin and multiple “item” bones that do not deform anything.
Depending who you ask, "Skeleton" may be defined slightly differently. I like this definition because it means the "Skeleton" in our 3D Package refers to the same thing as the "Skeleton" asset in Unreal.
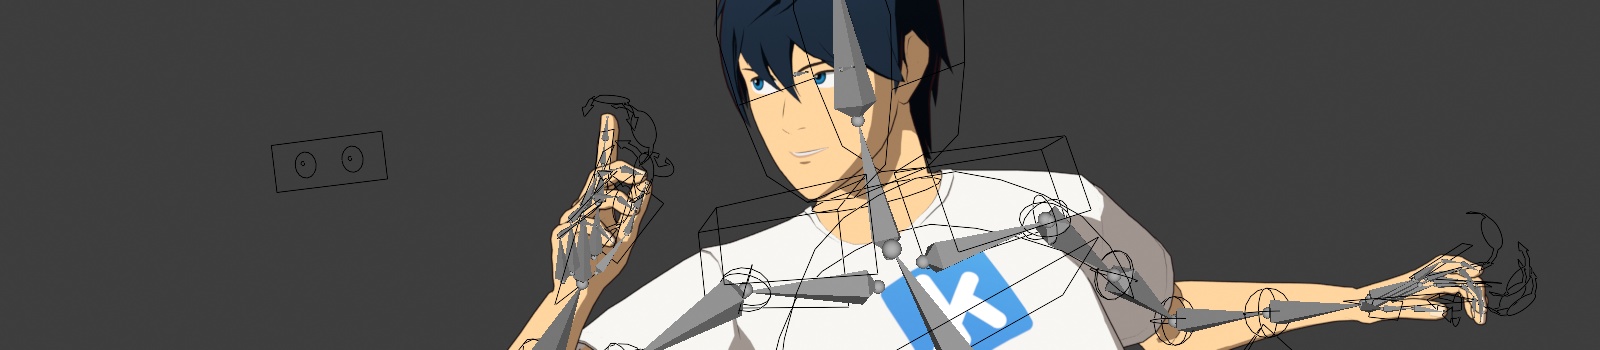
Rig
The Rig only exists in our 3D Package and is not exported for a game engine. The Rig is a tool for posing and animating the Skeleton.
When posing our character, moving the Skeleton bones individually would be tedious and difficult. Therefore we create a Rig to make it easy, and move that instead.
We refer to the individual components of a Rig as Controls. Each of the shapes in the above image is a Control. We move the Controls to pose the character.
When we export animations from our 3D Package, we export the final result of the Skeleton. When everything works correctly, we get the exact motion we want in our game engine, without the game engine knowing anything about our Rig.
Side Note: Unreal's "Control Rig"
You may have heard that Unreal has something called a "Control Rig". This is different from the typical "Rig" one would refer to with a character, and it is not a requirement for a character workflow.
Unreal's "Control Rig" is an asset you can create to help dictate dynamic or procedural motion as the Mesh moves around in-game. It is not used to author animations like the Rig we create in a 3D Package.
Someone once asked me "should I rig my character in Blender, or Unreal?" This question doesn't have an answer as it is conflating 2 different things that serve different purposes.
Skin Weights
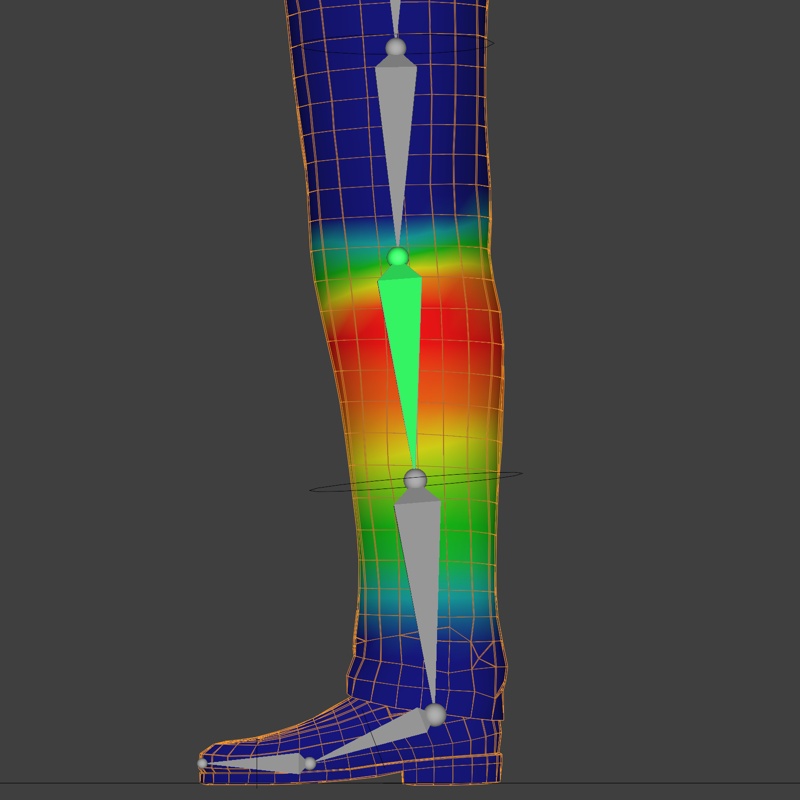
Our Skeleton will move our Mesh. The way we control the influence of bones is through Skin Weights, aka “bone weights” or simply “weights”.
Each vertex has a list of bones that influence them, with a 0.0-1.0 value representing that bone’s weight. Bones with larger weights move the vertex more.
In the above image, we can see the influence the upper-calf bone has on the leg. The bright red vertices are moved entirely by the calf, the blue vertices are not moved by it at all, and we can see a gradient between both extremes.
There are various methods of authoring Skin Weights (“skinning”), the most common of which is to have your 3D Package auto-generate rough weights, and then fine tune them by painting the vertices by-hand.
How a Skeleton Moves a Mesh
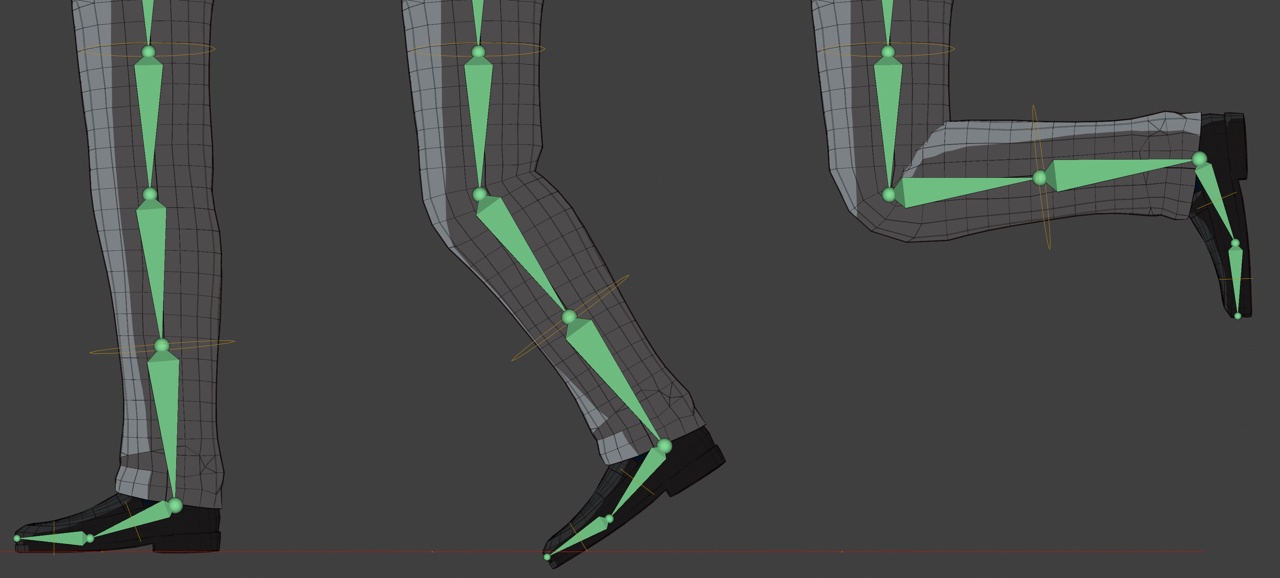
As bones move, they move vertices with them. Vertices can be influenced by multiple bones, and their final position is determined by blending the influence of multiple bones.
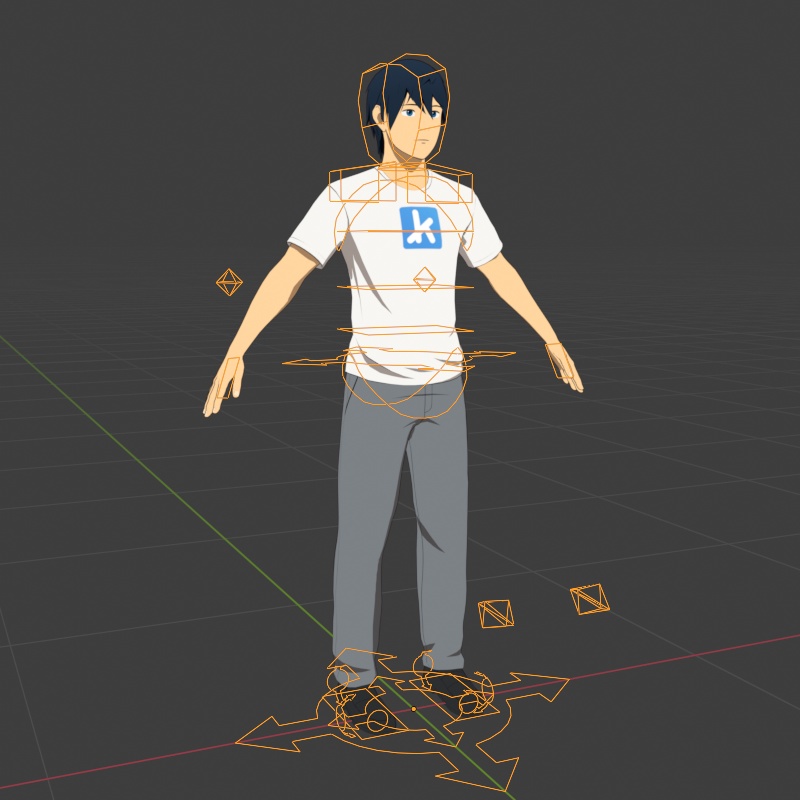
How a Rig Moves a Skeleton
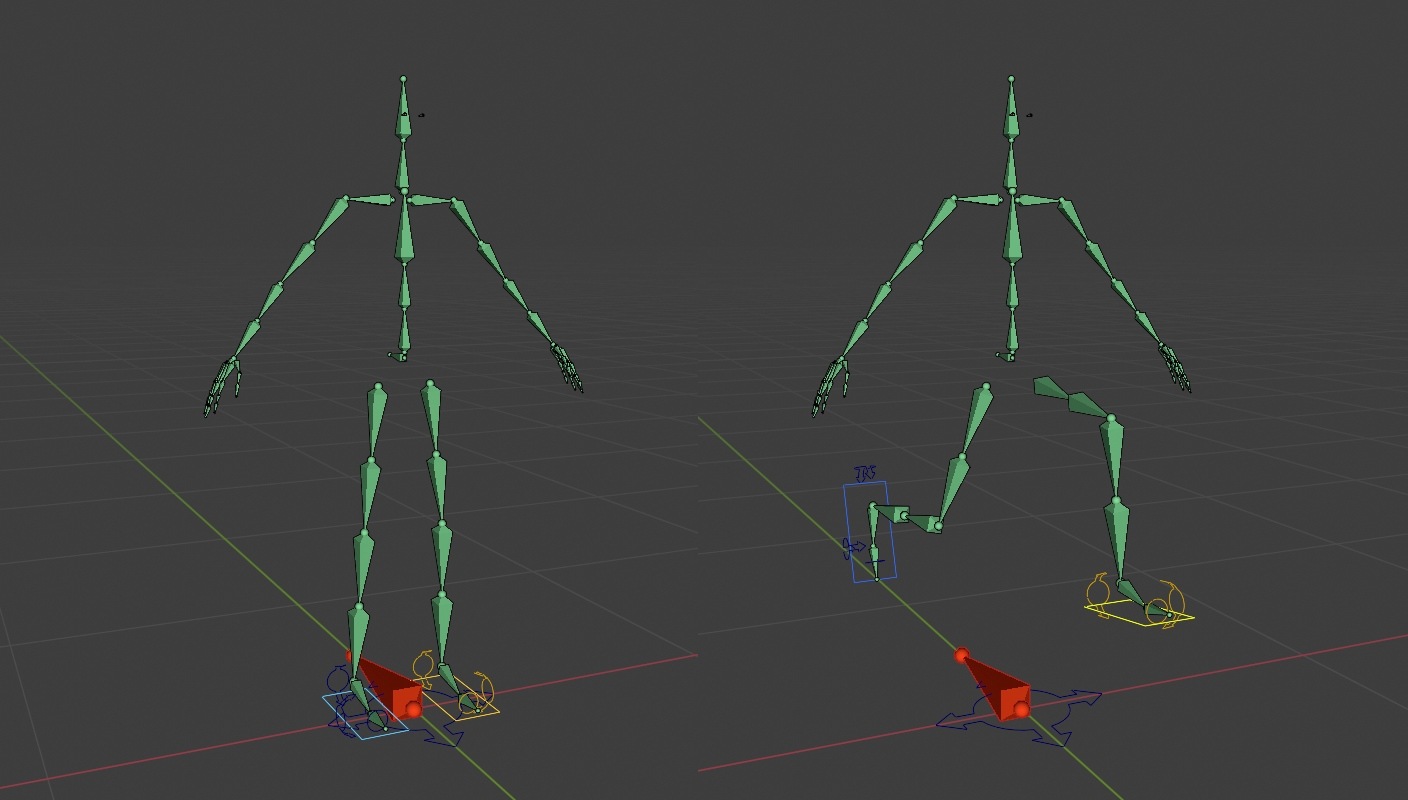
The controls in a rig move bones in a skeleton through a variety of Constraints. Constraints are bits of logic governing how a bone moves, and how it might be influenced by other bones or Controls.
In the above image, we can see how an IK Constraint moves the skeleton’s legs. The above motion is achieved by moving the foot controls in the rig, and the legs of the skeleton automatically bend and follow the controls.