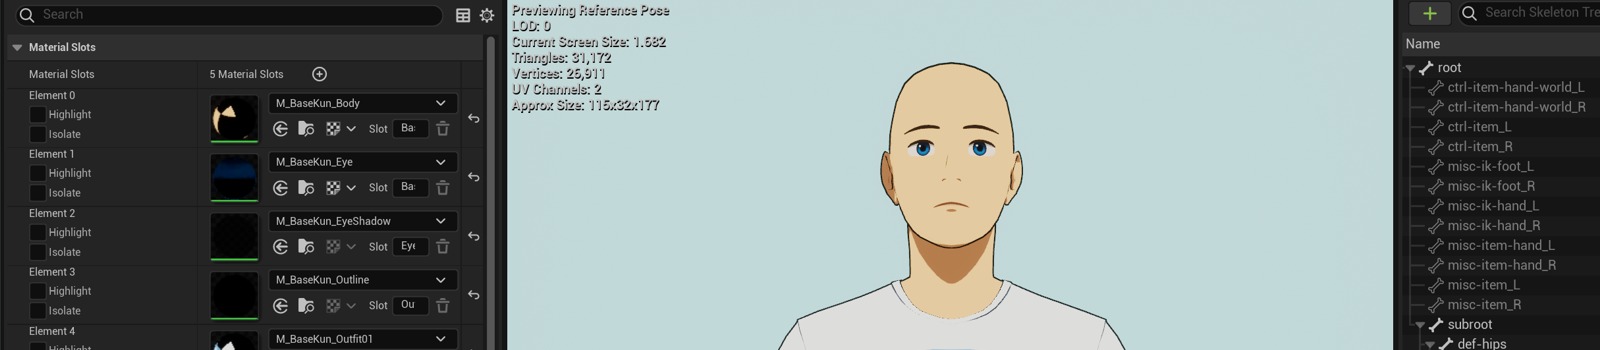
Skeletal Mesh Import and Setup
Your model should be exported from your 3D Package as an FBX, containing the Mesh and Skeleton.
The first step in Unreal is to import your character model as a Skeletal Mesh.
Import
UE 5.5 onward enables a new FBX importer by-default, as part of the suite of Epic's "Interchange" plugins. It has a bug causing animations with Morph Target animation to import into multiple assets. It also has strange behavior importing FBX files containing a Skeletal Mesh and animations in-one.
I recommend disabling these Interchange plugins to go back to the old FBX importer.
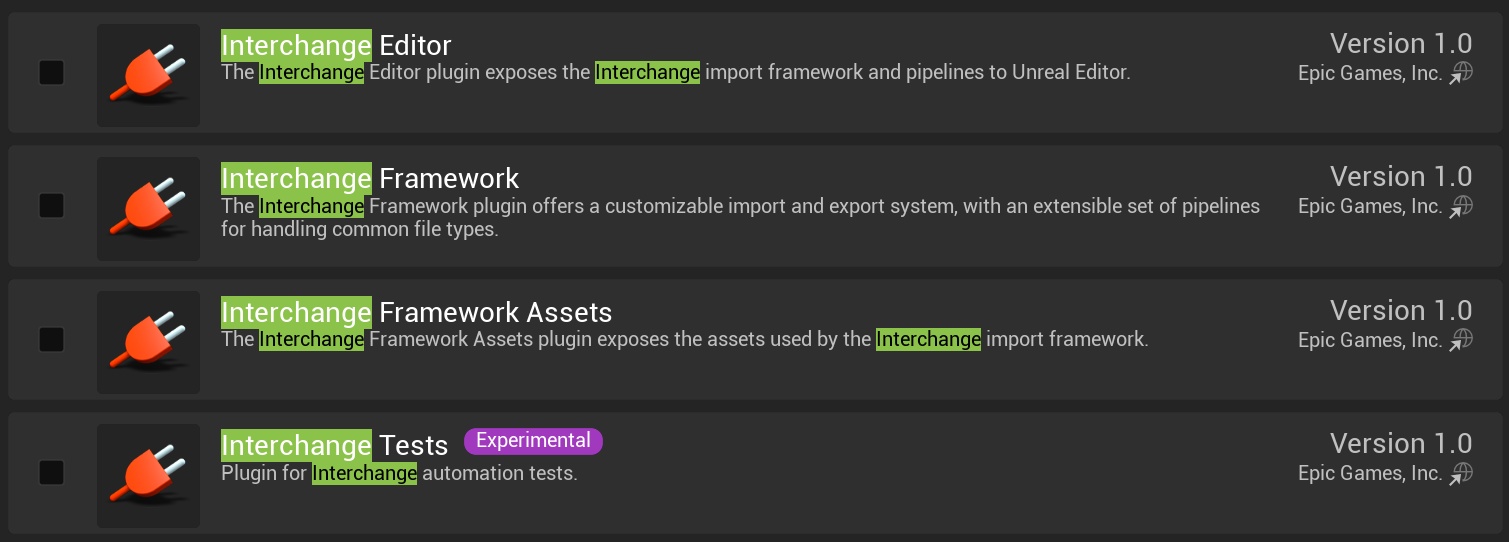
Unfortunately, this will also disable the FAB marketplace plugin, and you will have to add FAB assets to your project using Epic Games Launcher.
Hopefully the new importer will be improved in future engine versions.
How to Import
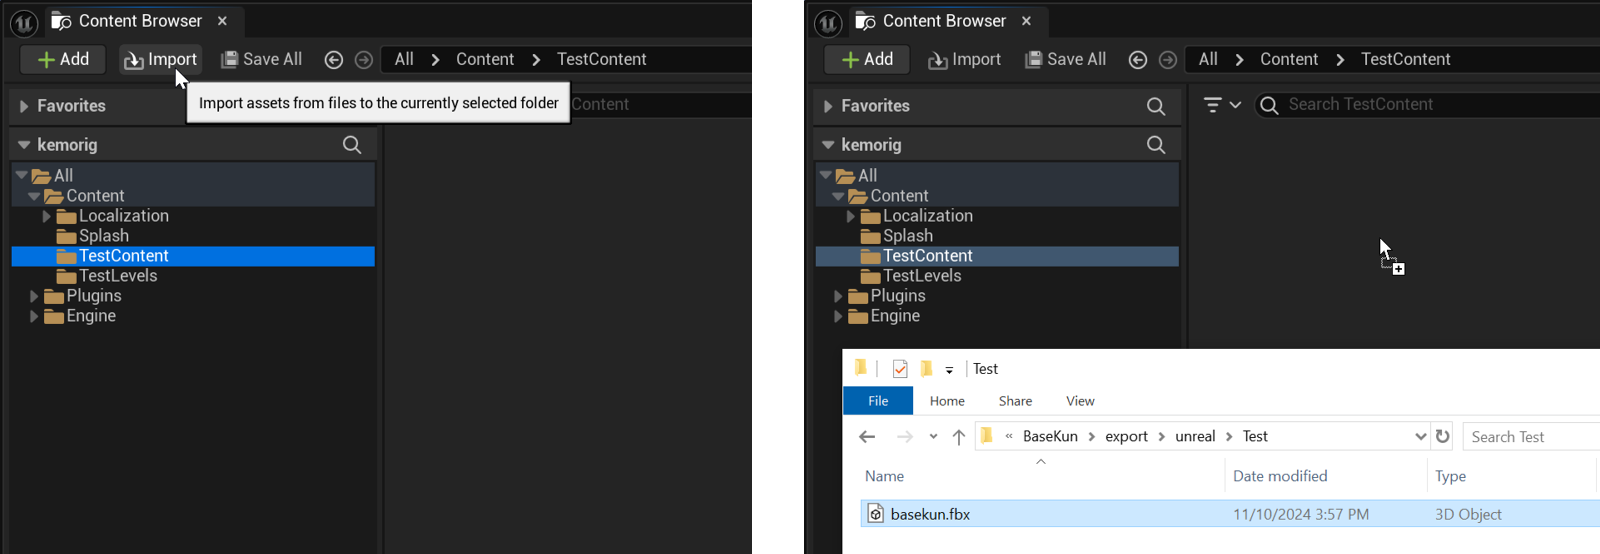
To import an FBX, you can either:
- Click “Import” near the top of the Content Browser, and navigate to your FBX file.
- Drag your FBX file into the Content Browser directly from Windows explorer.
Import Settings
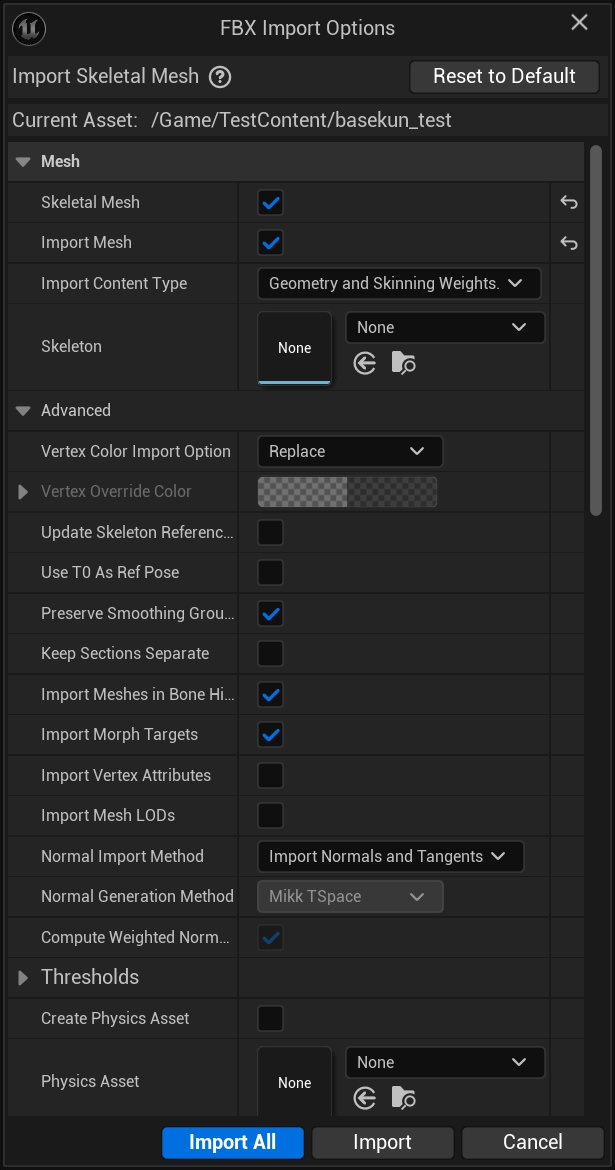
When the import starts you will see a settings dialogue. You probably want to modify some of the default settings, including those hidden in Advanced dropdowns.
These are some settings you should pay attention to, with recommended settings:
Make sure this is enabled. (If you uncheck this, the top of the window shows that it will import as a Static Mesh.)
If this defaults to disabled, your exported Mesh probably does not have a Skeleton bound correctly.
Make sure this is enabled. (If you uncheck this, the top of the window shows that it will import as an Animation.)
If this defaults to disabled, your FBX probably does not contain a Mesh.
The importer may auto-select a bad asset for this.
- When importing a Skeletal Mesh with a new Skeleton, this should be None
- If importing a Skeletal Mesh that shares a Skeleton with an existing asset, select that Skeleton here
This defaults to disabled! Remember to enable it.
Enable this. It will stay enabled for future imports. As far as I know, there is no downside to keeping this enabled for all imports.
This defaults to "Compute Normals"! Remember to change it.
Set to Import Normals, or Import Normals and Tangents. It will stay enabled for future imports. I don't know of a reason to prefer Compute Normals, because you always want your model to look the same in a 3D Package and Unreal.
You can have Unreal compute Weighted Normals (more info) for you if you like. This does not always look better. Personally, I prefer to do this in my 3D Package, but this is here if you want it.
This requires Normal Import Method to be set to "Compute Normals" to take effect.
When importing a Skeletal Mesh, and we have animations in separate FBX files, we expect this to default to disabled. If this is enabled, it means your character's FBX file contains animations, which is not recommended.
Defaults to enabled, don't change it.
Defaults to disabled, don't change it.
Defaults to disabled, don't change it.
This option does not appear to work, or do anything. It will not fix unit-conversion issues that Unreal has with FBX imports.
You can have the import search for Materials (or Material Instances) matching the slots in the Mesh. Defaults to Local, the other options are more useful.
This defaults to making new Materials, and it's highly recommended to use Material Instances instead! Making new Materials for every imported Mesh is extremely inefficient!
Defaults to Create New Materials, and I recommend changing to "Do Not Create Material". It's easier to make Material Instances manually after import in my opinion.