Quick-Start Guide
Welcome to the Quick Start Guide for the PROTO Animated Text plugin!
In this guide, we will:
- Add a ProtoRichTextBlock to your UI.
- Set up and use a Text Style.
- Create a Font Material with a looping animation.
- Make our text Print Letter-by-Letter.
- Modify our Font Material to play an animation as each letter prints.
This guide assumes you know the basics of creating UI with UMG. More information about UMG can be found here.
Create a ProtoRichTextBlock
Create a UserWidget asset and open it.
Inside the UMG Designer, search for ProtoRichTextBlock in the palette, and add it to the hierarchy.
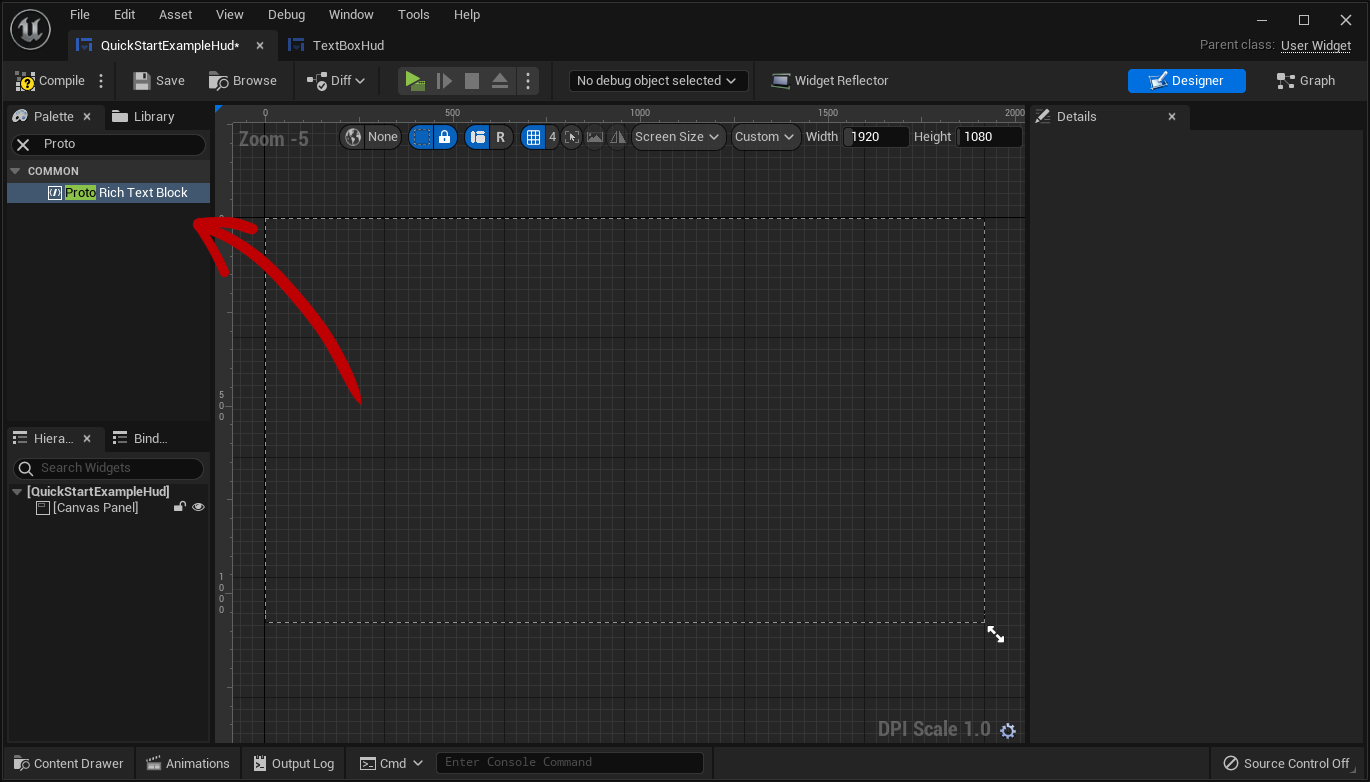
Then, with the ProtoRichTextBlock selected, go to the Details panel and find the Text property. Enter a string to display.
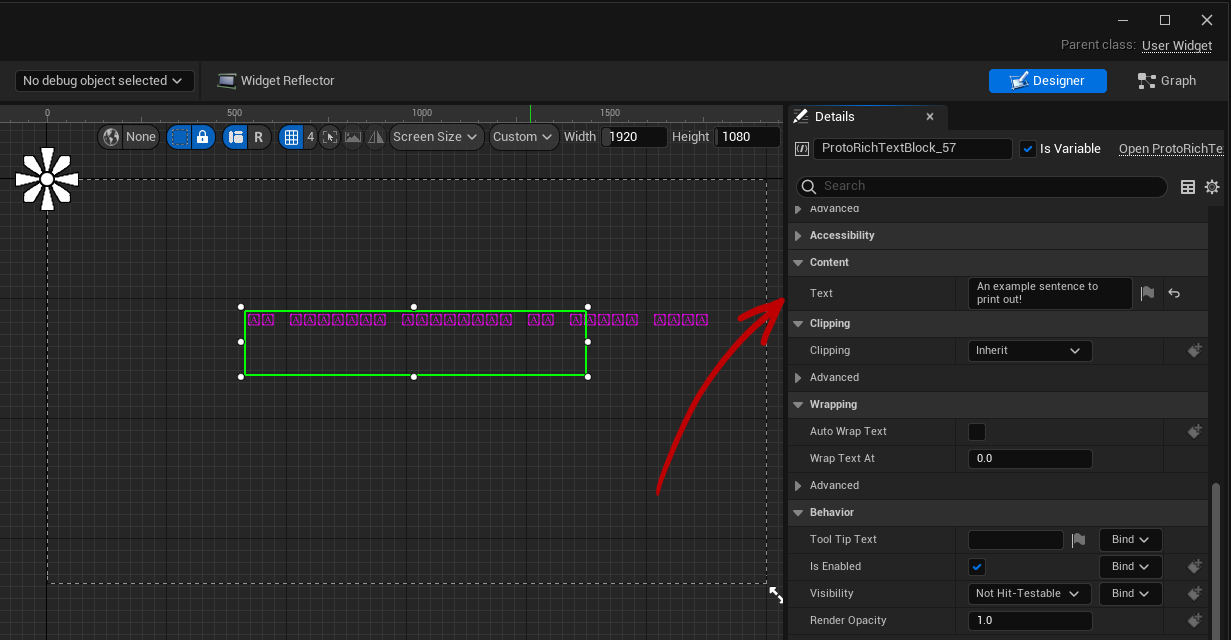
You’ll see strange purple characters drawn instead of your string. Don’t worry! Just like Epic’s default RichTextBlock, this is what happens when rich text attempts to display without a Text Style specified.
Set Up a Text Style
In the Content Browser, create a Data Table. To do so, right click in a folder and navigate to Miscellaneous > Data Table.

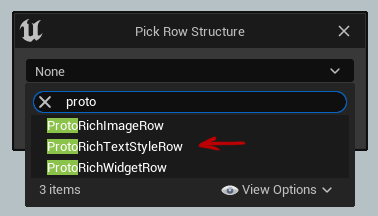
A pop-up will appear asking you to specify a Row Structure. The structure you need to use is ProtoRichTextStyleRow. You can find it by typing “proto” in the Search Bar.
Open your new Data Table asset and do the following:
- On the top bar, click +Add to add a new row.
- Double click the Row Name and name it “Default”.
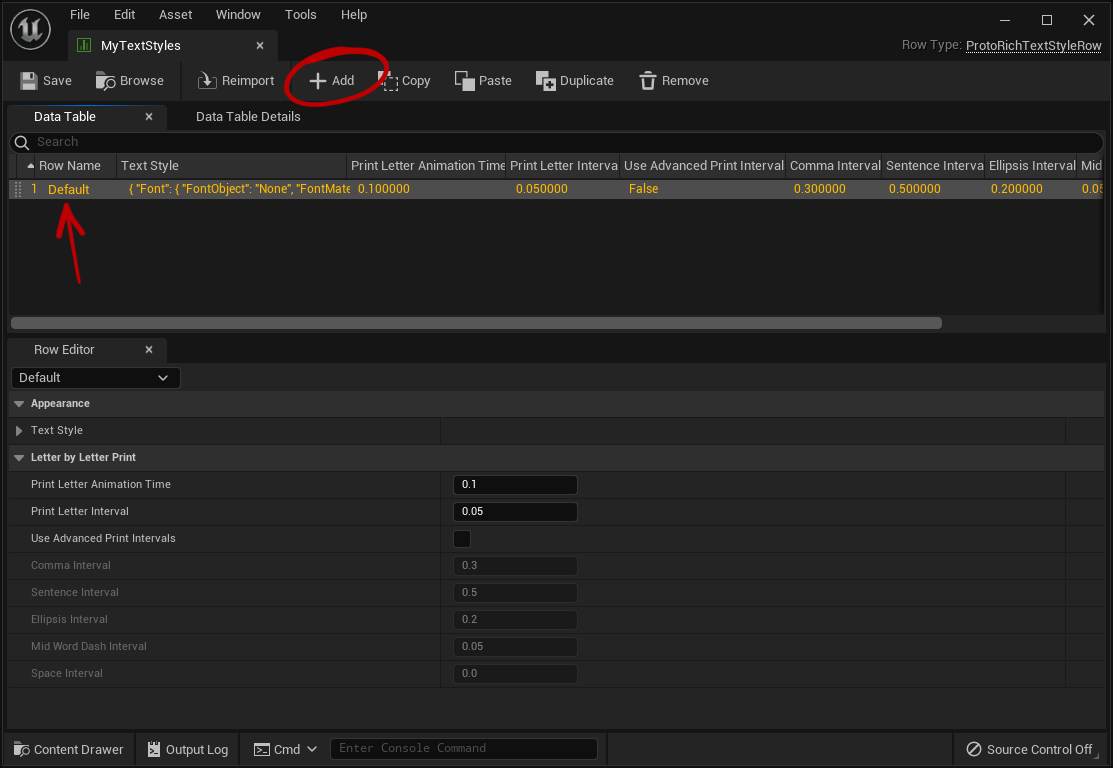
For Epic’s RichTextBlock as well as ProtoRichTextBlock, “Default” is a special name for Text Style rows. Whatever row has the name “Default” will be used as the default style for all runs of text.
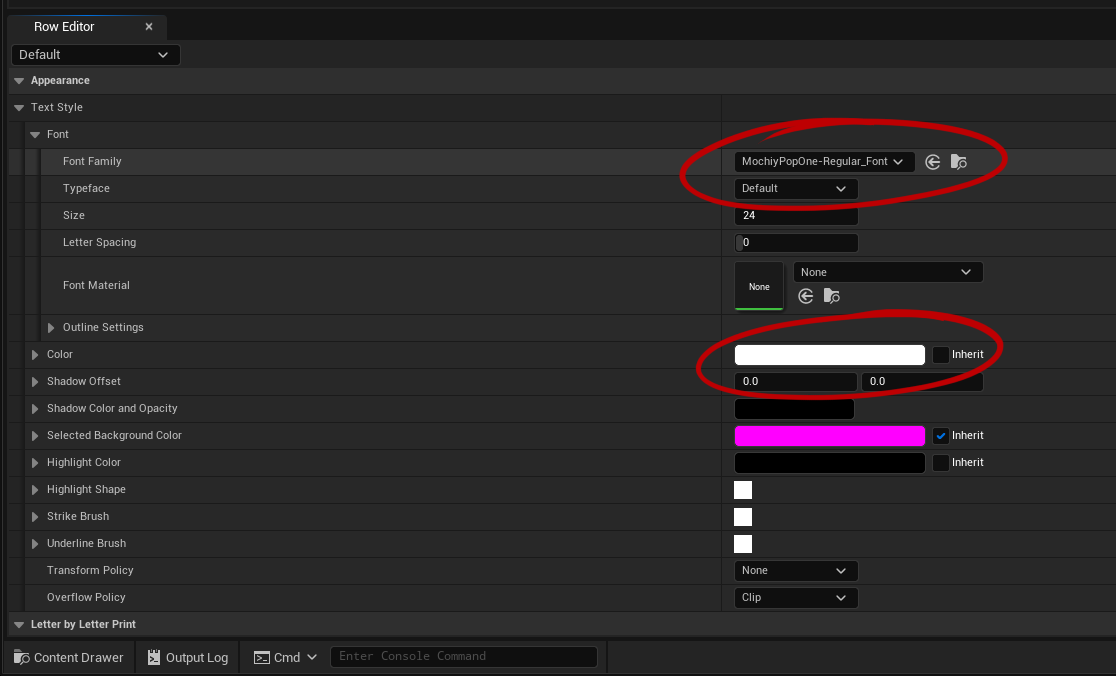
In the Row Editor for your row, do the following:
- Open the dropdowns and find Appearance > Text Style.
- Set the Font > Font Family property to a font of your choice.
- Set the Color property to a color of your choice.
- Save the DataTable asset.
The font dropdown may be empty if you do not have any fonts installed in your project. You can find default fonts by enabling “Show Engine Content” in the dropdown options.
Next, return to your UserWidget asset and select the ProtoRichTextBlock.
- Find the Proto Text Style Set property, and set it to the DataTable you just created.
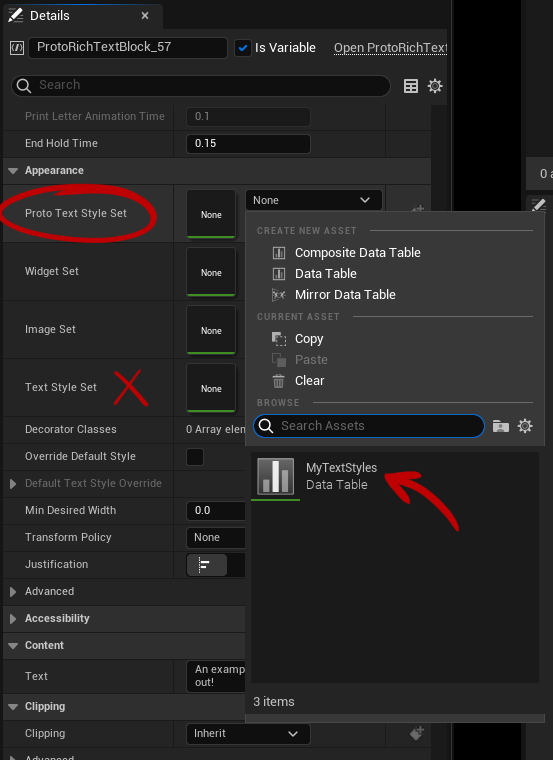
Make sure you always use the Proto Text Style Set property, and not the Text Style Set property.
(Unfortunately, the plugin doesn't have a way to hide the inherited Text Style Set property.)
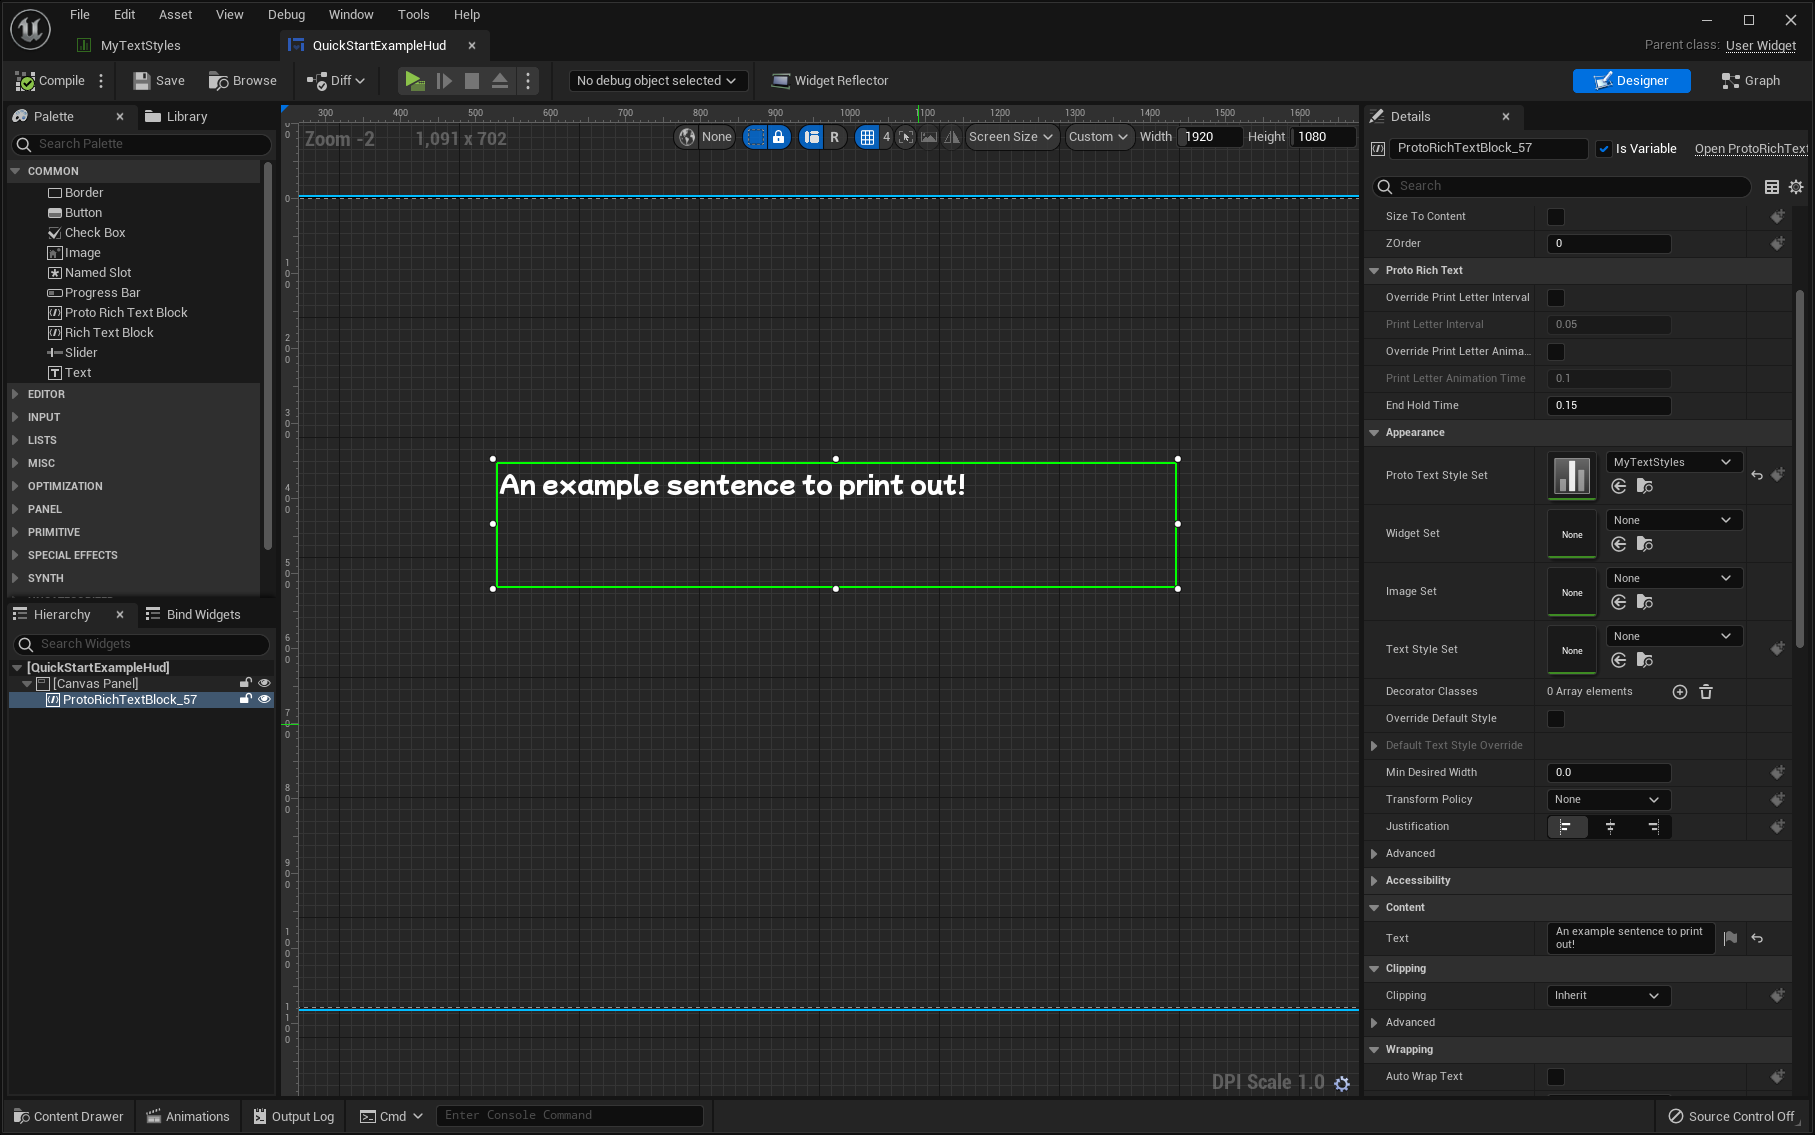
Compile your User Widget.
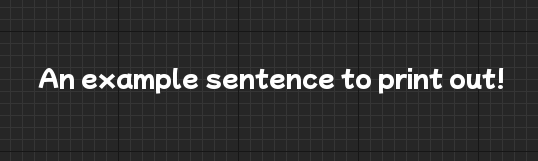
Your ProtoRichTextBlock should now display your entered text correctly.
With what we’ve set up so far, our ProtoRichTextBlock is still only doing what a normal RichTextBlock can. Next, we’ll start using features unique to the ProtoRichTextBlock.
Mark-Up Your Text
In order for your text to animate and print letter-by-letter, special mark-up is required.
Inside your UserWidget Designer, select your ProtoRichTextBlock and find the Text property from earlier.
Wrap your text with <text style=”Default”>…</>.
- “text” is the name of a decorator ProtoRichTextBlock uses. It specifies that this run of text uses that decorator to animate text.
- style=”Default” specifies that the text decorator should use the Text Style called “Default”.

You’ll now see your text drawing with strange colors:
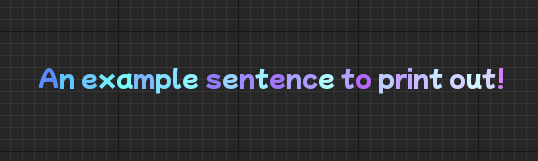
These colors contain the information our font material will use to animate the text. (Once we make our material, it won’t look multi-colored like this, of course!)
Because you created a Text Style named “Default”, if you don’t specify a style for the “text” decorator, it will use that Text Style.
In other words, <text>An example sentence to print out!</> will produce the same result in this case.
Any other Text Style you create will always have to be specified by name.
Create a Font Material
Next, we will create a Font Material for our text. This will allow the text to draw correctly (using a color of our choice), and it will allow us to add animations.
In the Content Browser, create a Material.
Open your Material asset, navigate to its Details panel, and do the following:
- Set the Material Domain to User Interface.
- Set the Blend Mode to Translucent.
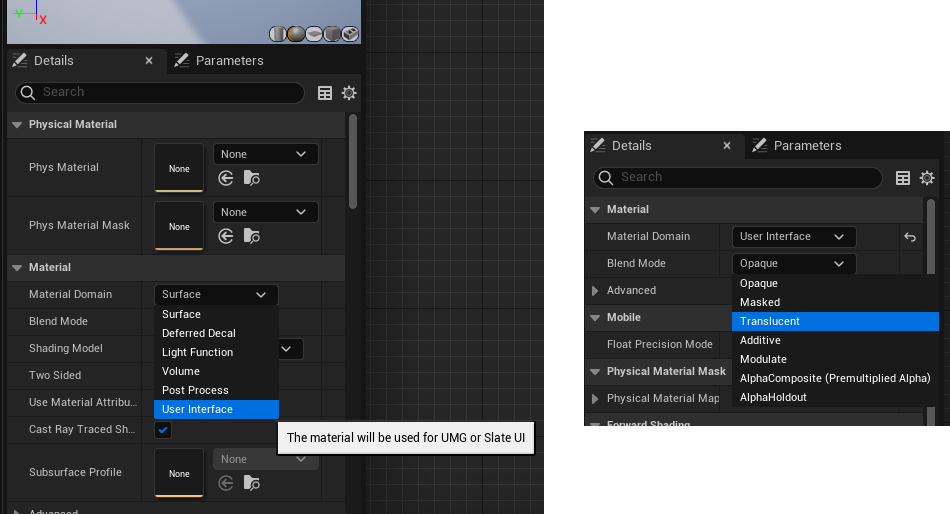
You’ll see that the output node for the material now has 3 pins:
- Final Color
- Opacity
- Screen Position
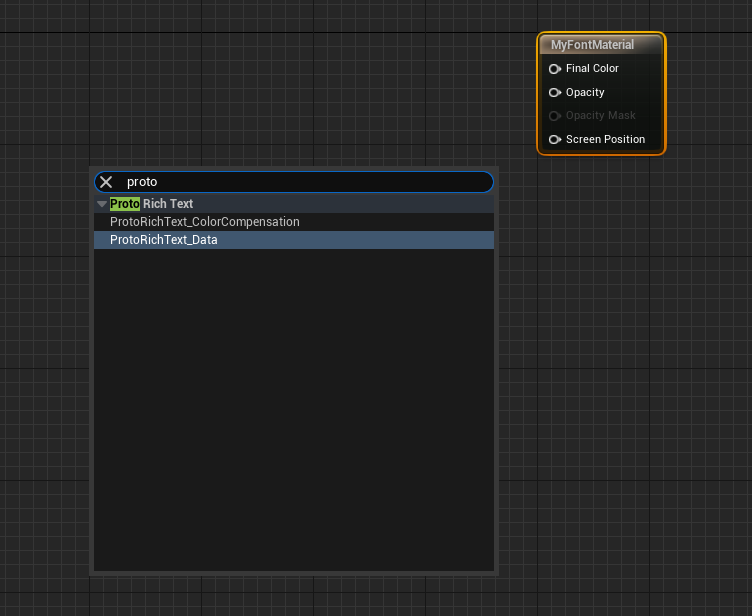
Next, we’re going to use 2 helper Material Functions included with the plugin.
In the node graph, right click and search for “proto”, and add the following nodes to your material:
- ProtoRichText_Data
- ProtoRichText_ColorCompensation
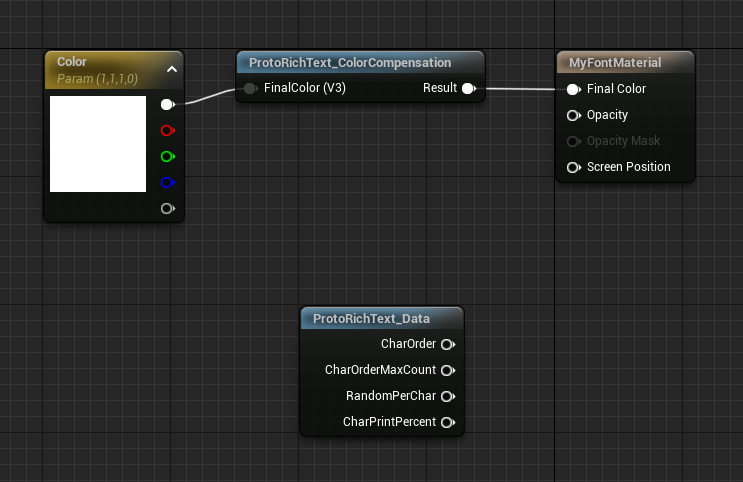
The first node we’ll use is ProtoRichText_ColorCompensation. This will fix up the colors of our text and display a color of our choice. Hook it up with a Vector Parameter like so:
Save the material.
Now let’s hook up the material and make sure it’s working as expected.
- Open your Data Table asset containing your Text Styles.
- In your Text Style, set the Font Material parameter to our new material.
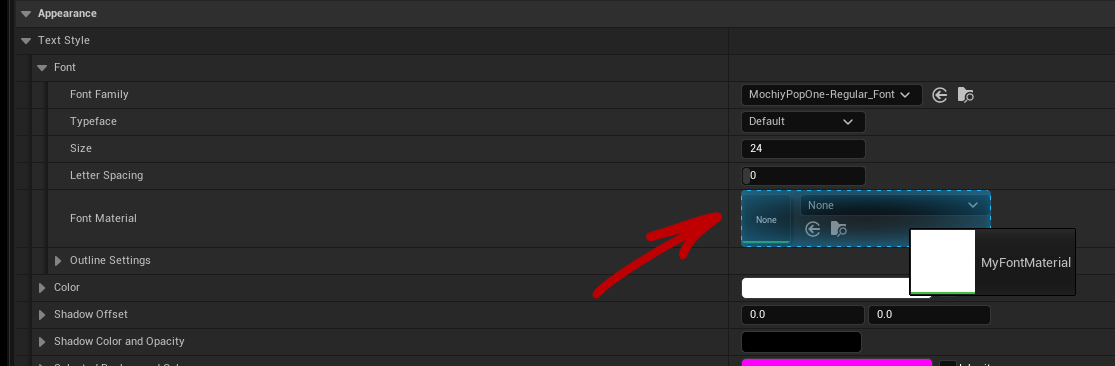
Save the Data Table.
Return to your UserWidget and compile it. You should now see your text using the Color from your Material:
Great! Now that our text works, we can move on to our first animation.
Create an Idle Animation
Return to our material.
To animate the material, we’re going to use the Screen Position output pin. This pin lets us offset the material on the screen, and we can change how much we offset it over-time.
For this tutorial, we’ll make the characters move up and down in a wave.
The following image shows the completed node group, with an explanation of how it works below:
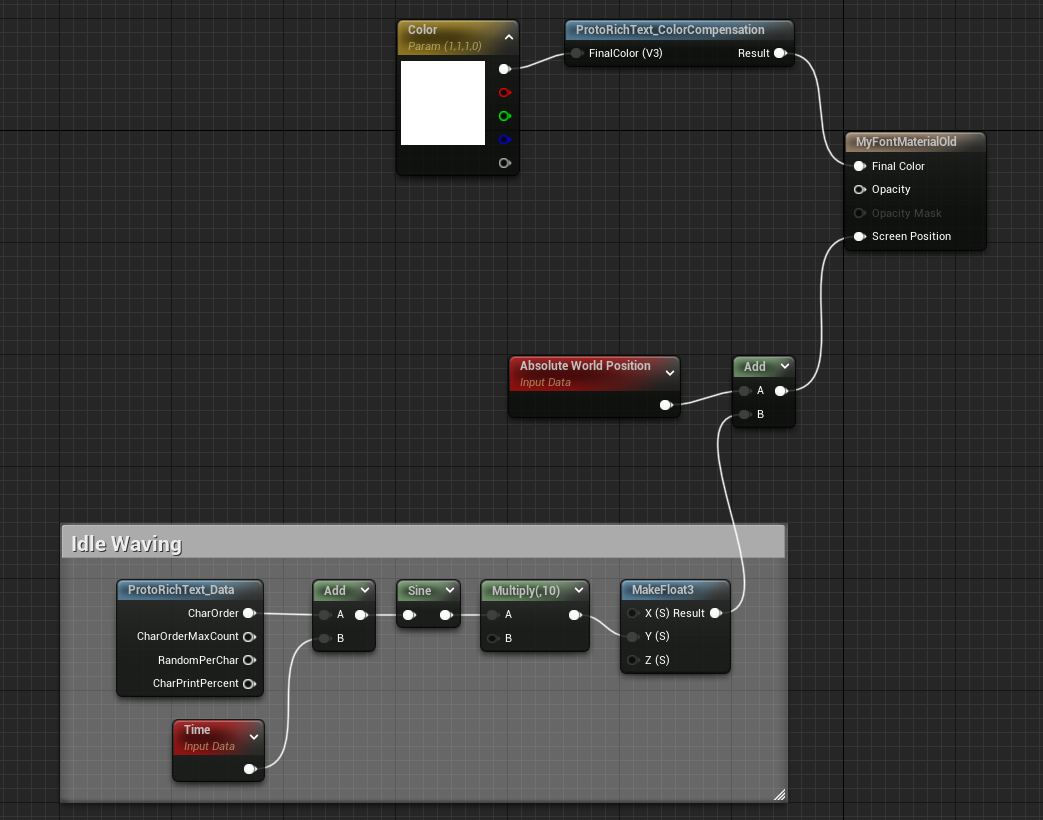
Here’s how it works:
- The Time node combined with Sine will give us an undulating value between -1.0 and 1.0.
- The CharOrder pin on ProtoRichText_Data gives us an increasing number in-order per character. When added to Time, it offsets the Sine pattern per-character.
- The Screen Position pin expects a Float3, so we route our animated value into MakeFloat3. We route it into the Y (vertical) value.
- Finally, we add our animated Float3 to Absolute World Position.
- In font materials, the Absolute World Position node contains the default location for each vertex of our font.
- In order to position the font correctly, we need to add a delta to that position.
To find the Absolute world Position node, search for “World Position” in the right-click search menu.
Implement these nodes, save the material, and return to our UserWidget.
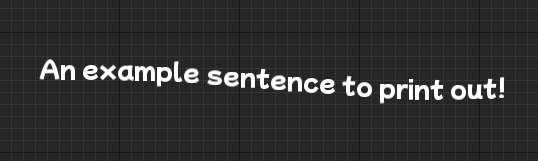
You should now see your text waving in an arc over time:
Print Letter-By-Letter
Next, we’ll make our text print out with a function call in our blueprint.
As a reminder, your text requires the <text>...</> markup discussed above in order to print letter-by-letter.
In our UserWidget, navigate to the Graph view and open the Event Graph.
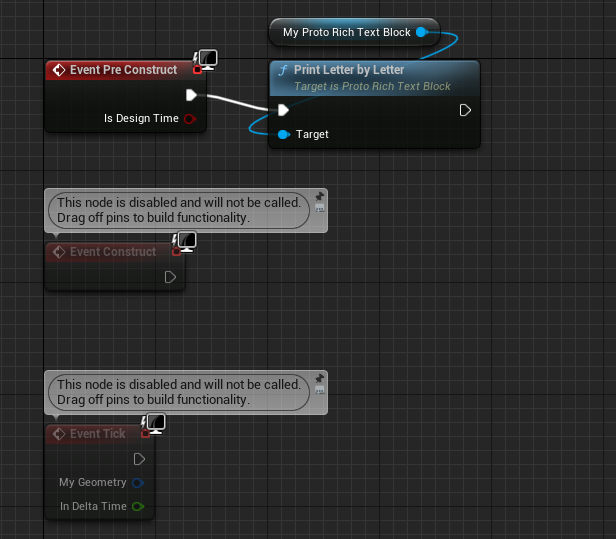
For simplicity, we will test the print-out in-editor. To do this we can use Event Pre Construct.
Drag the ProtoRichTextBlock variable into the Event Graph, and call the function PrintLetterByLetter on it.
Return to the Designer view.
Now every time you click compile, you will see the text print out.
Animate the Print-Out
Finally, let’s add some flare to the print-out. Just like the Idle animation, we can do this within our Font Material.
Return to our material. We’ll make it so the letters do the following:
- Fall down from above as they print.
- Fade from 0.0 alpha to 1.0 alpha as they fall.
Here is the completed node group, with an explanation below:
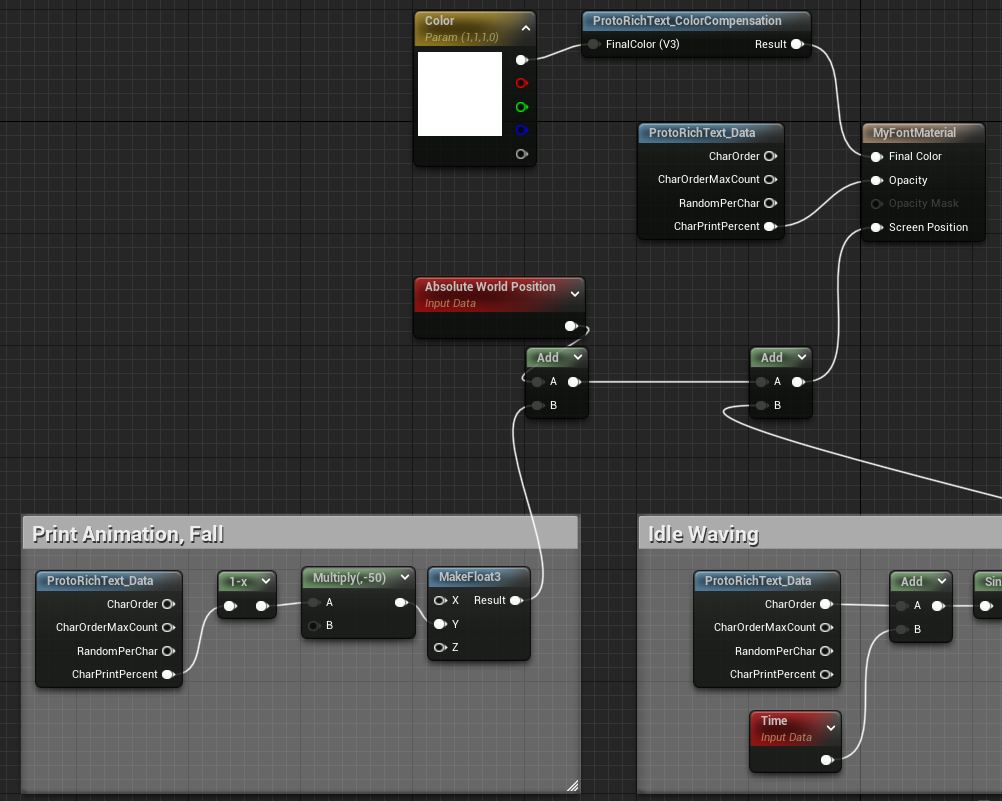
Here’s how it works:
- The CharPrintPercent pin on ProtoRichText_Data gives us a 0.0 - 1.0 value per-character as they print.
- We want the offset in the Y value of our Float3 to be larger at the start of the animation. So we pass CharPrintPercent into a 1-x node. This node will give us 1.0 - 0.0 as the letter prints.
- We add this new print animation to the Absolute World Position along with the Idle Waving from before.
- We add another CharPrintPercent to the Opacity pin of our Output. This will cause our opacity to go from 0.0 - 1.0 during the print.
Save the material and return to the UserWidget.
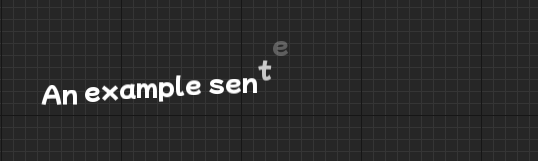
Now when you compile your UserWidget, you should see your text fall into place as it prints.
Conclusion
Now that you know the basics, you can expand upon this example and produce all kinds of effects!
Explore the rest of the PROTO Animated Text documentation for more details on other features.