Action Tools
The add-on comes with a panel for easily managing Actions (i.e. animations) for game assets.
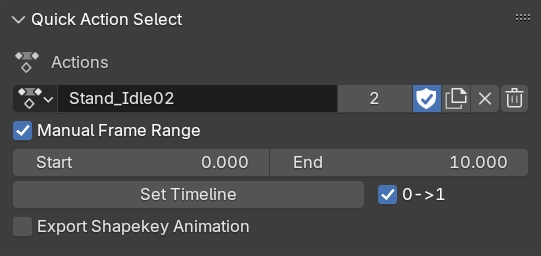
By default, Blender requires users to understand many different editor windows (the Dope Sheet, Action Editor, NLA Editor), and related exporter options, to do simple tasks like author multiple animations in one file. Blender’s animation system is powerful, but the user experience is not very friendly out of the box.
PROTO Game Asset Tools doesn’t change the underlying Actions system; rather it exposes the parameters we need to manage them from one simple panel.
Actions in Blender
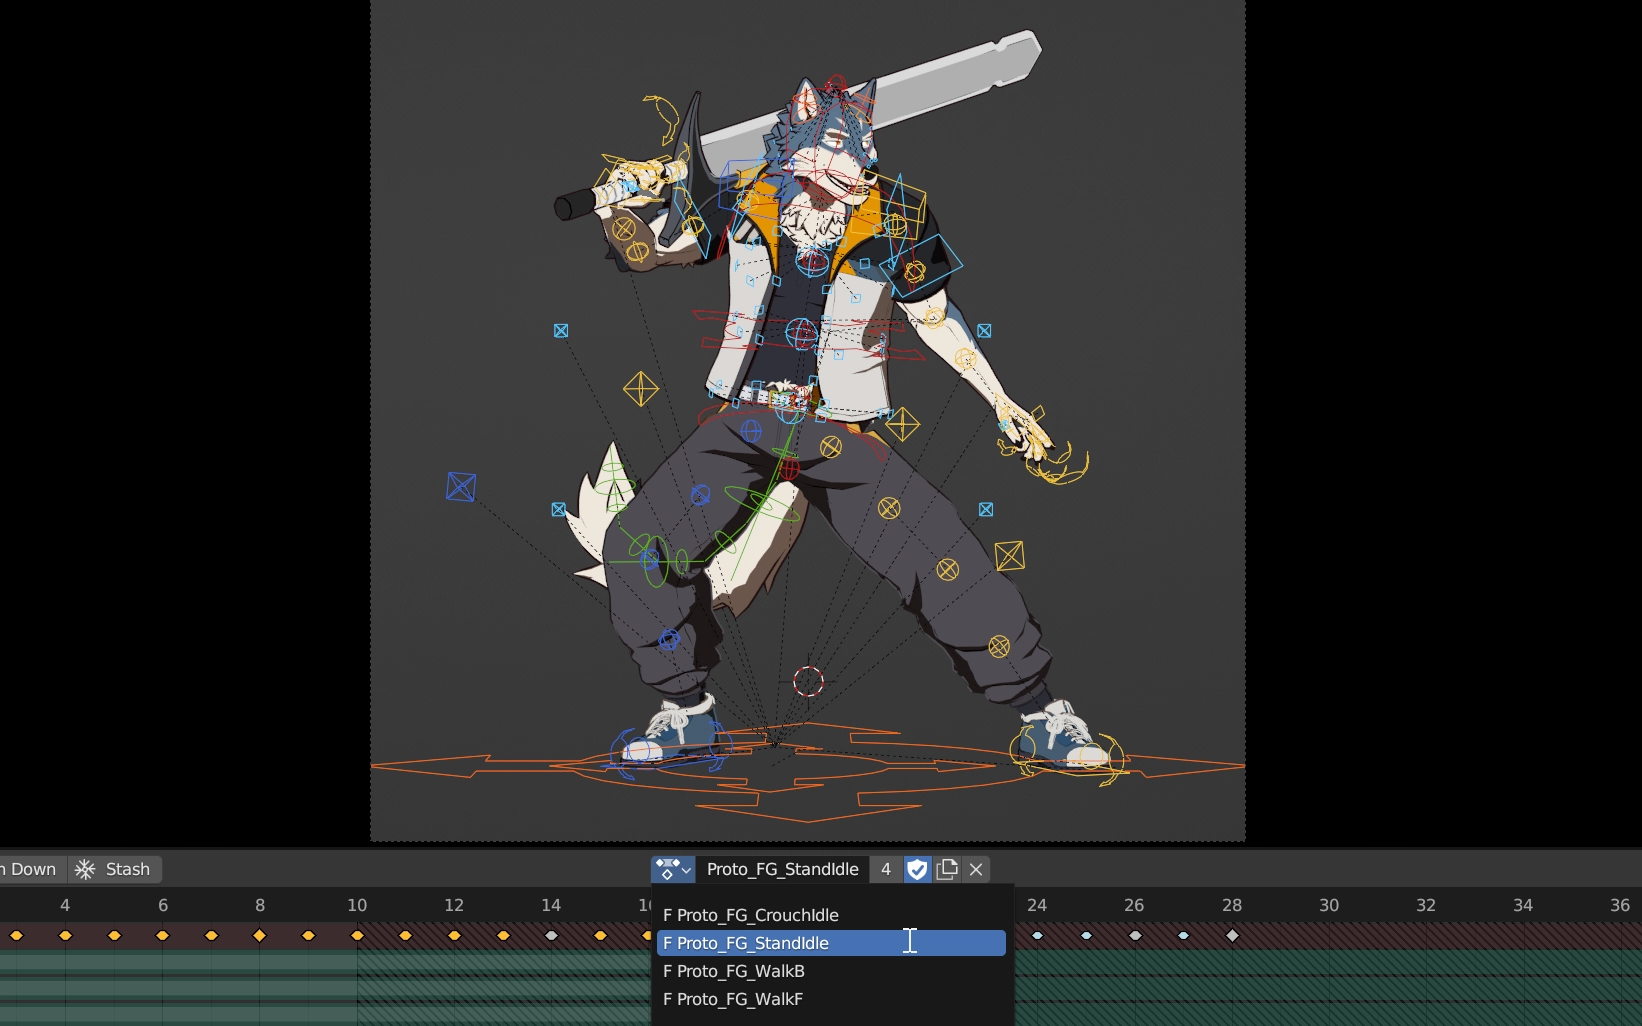
In Blender, individual animations are known as Actions.
- Actions can animate any kind of object (not just armatures).
- Actions are not bound to one object. In fact, one Action can contain keyframes for multiple objects, and we can assign any Action as the “active” Action for any object.
Actions for Game Animation
When working with game animations, typically we’re only animating bones in a skeletal mesh. We’re also exporting these animations individually.
This means typically:
- We usually have 1 Armature in our blend file that we’re animating on its own.
- In our Actions, we’re only keying bones in that Armature, in Pose Mode.
- All Actions in our blend file represent individual animations we wish to export for our skeletal mesh.
Quick Action Select Panel
In any viewport, we can find the Quick Action Select panel inside the PROTO tab on the right.
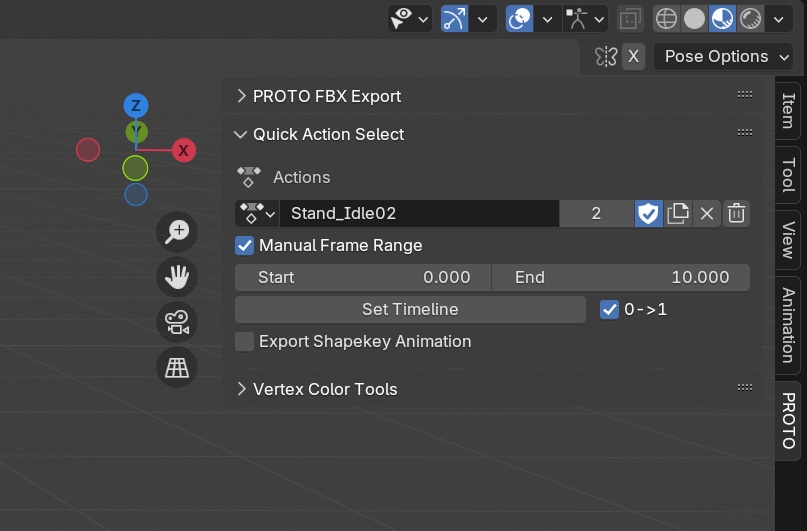
You may recognize some of this UI from Blender’s Action Editor! Note that there are some additional functionality to these elements.
Action Selector
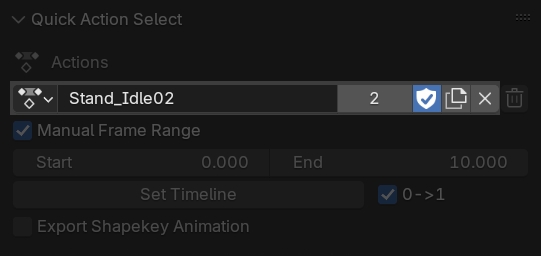
The first row is a dropdown that populates with Actions, and allows us to select the active Action for our current selected object.
Note that when creating Actions using this panel, they will automatically have “Fake User” enabled. This is a quality-of-life choice to prevent them from accidentally being deleted when closing our blend file.
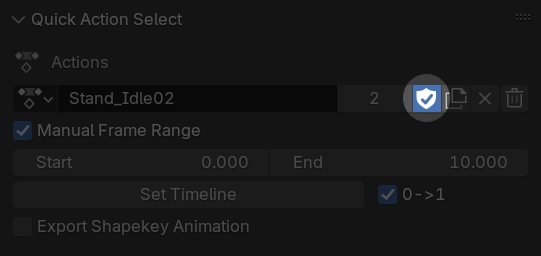
"Fake User" is a Blender-ism that basically means "something in this file needs me, don't delete me!" We always want this shield icon lit up on our Actions.
Deleting Actions
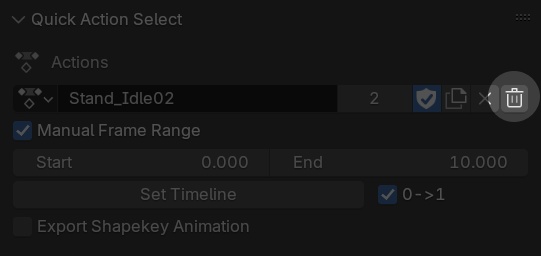
The panel adds an additional button to delete the current Action from the blend file.
When we press the X button on the Action Selector, we're not deleting the Action, but merely un-setting it as the object's current Action. The trash can icon is to permanently remove the Action from the file.
Frame Range
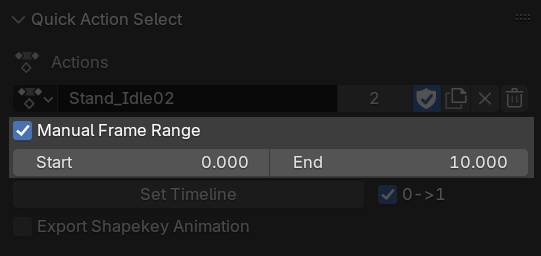
By default, Actions’ start and end frame are automatically determined by their keyframes.
A Manual Frame Range can be specified if desired.
Set Timeline
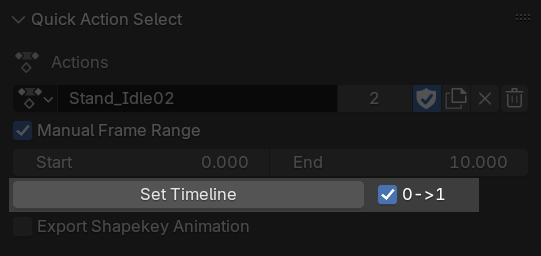
The Set Timeline button is for convenience to set the playback timeline to the current Action’s frame range. It does not modify the Action.
The 0 -> 1 checkbox is to set the first playback frame to 1 instead of 0, when the range starts at 0. This is convenient when authoring looping animations, because we typically want identical keyframes on the first and last frames, but we don’t want to see a duplicate frame when looping playback in Blender. So, we can put our first keyframe on frame 0, and have the playback timeline start at frame 1.
Export Shapekey Animation
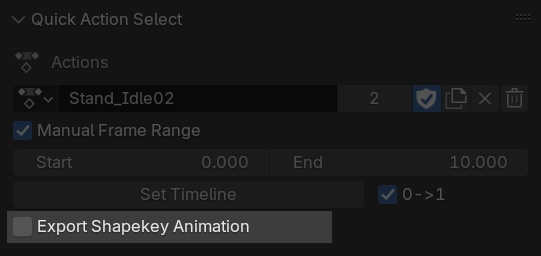
This checkbox is specifically for use with exporting animations in the Quick Export Selected panel.
When checked, the Action is flagged to tell the exporter to export Shapekey animation. It does this by finding any meshes with Shapekeys that the Armature manipulates, and including them in the export.